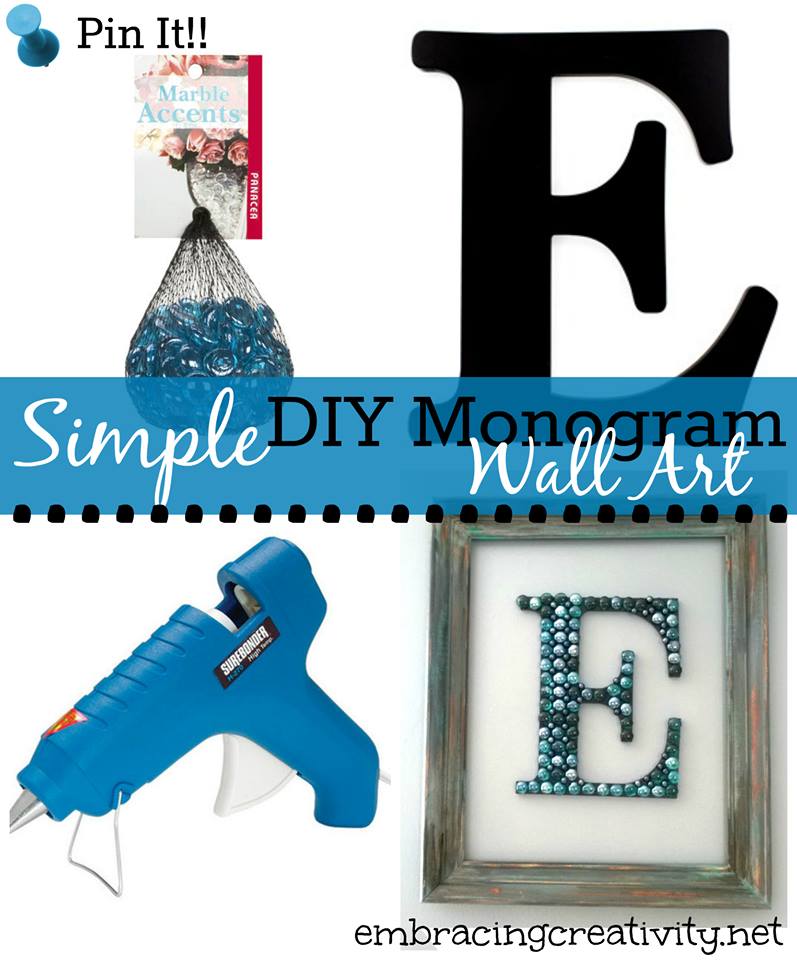
This simple DIY is all about making something individualized and colorful for your home. Using glass pebbles a wooden letter, and a few things you probably having lying around your house, we’re going to create a stylish initial to liven up any bare wall.
Okay, so here we go. All you need is the letter of your choice, glue (a hot glue gun worked great, available at any craft store), a wooden frame (it’s optional but this one came from Dahlia’s Flowers) and glass pebbles (or gems, marbles, fish tank decorations. You know what I’m talking about, right?). Keep in mind the color of your letter when choosing the color of your pebbles. Since they are slightly see through your background color will make a difference.
Instructions:
- Buy supplies.
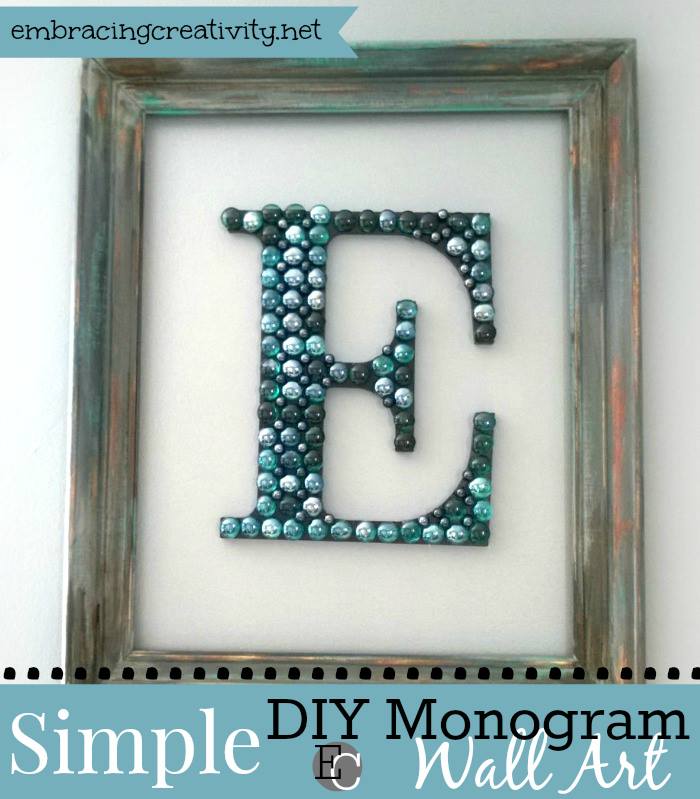
- Arrange pebbles on your letter to suit your taste. Remove row of pebbles from your letter and glue them back into place one or two at a time. Continue to fill in the entire letter, section by section, until complete.
- Allow a few minutes for the last pebbles to dry before hanging.
- If you want to hang a bare frame around your letter you would do that now otherwise you’re finished. Yay!
- Stand back and admire your creative and inexpensive piece of art!
This DIY Monogram wall art would make a great baby gift for new parents.
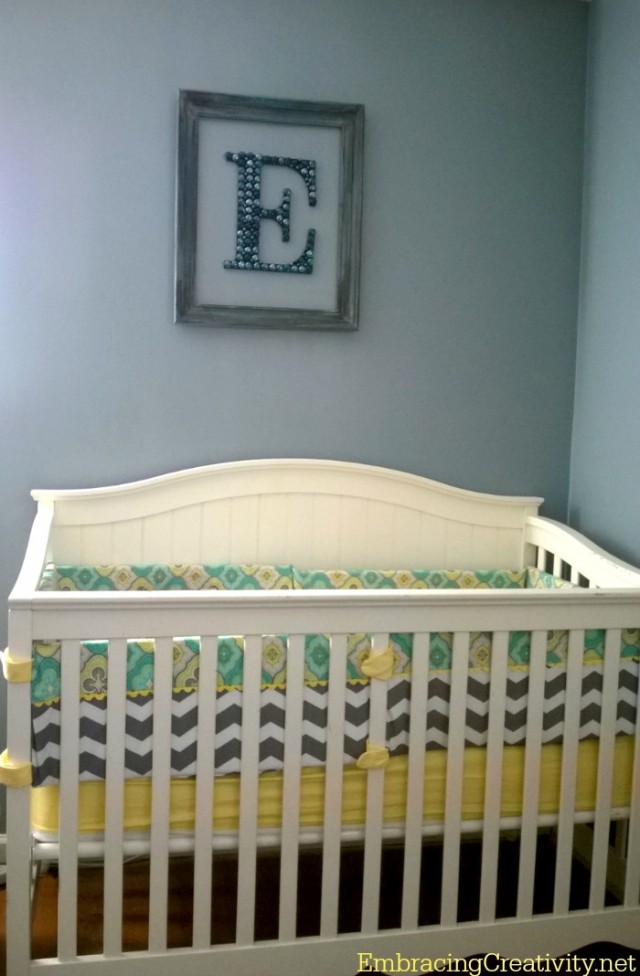
Just look how cute it is above the crib in my friend’s nursery!
If you found this helpful, pin it so you can share it with others and access it later!
Thank you, Stephanie for sharing your simple DIY monogram art! If YOU have a project you would like featured you can submit it here.


Recent Comments