Embracing Creativity

Just another WordPress site

  • Crafts & DIY
  • Decorate
  • Food
  • Gifts
  • Holidays
  • Parties
  • Printables
  • Home
  • Contributors
  • Submit

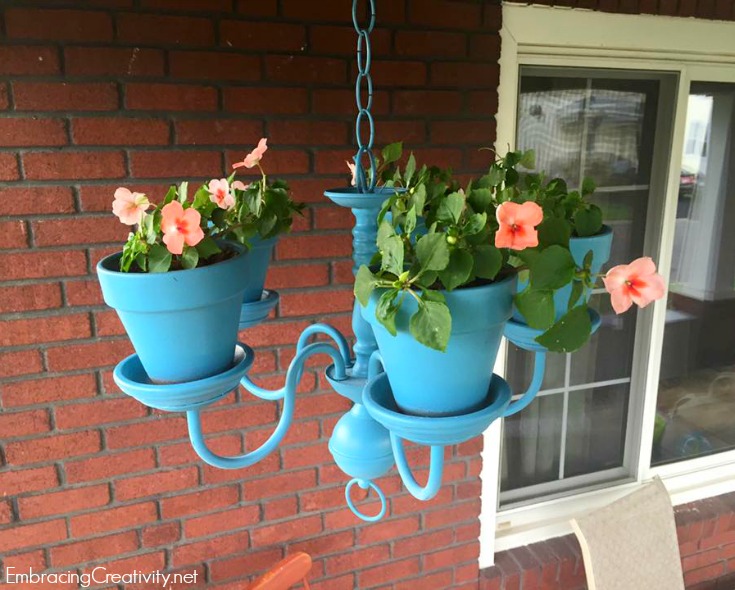
DIY Chandelier Planter

June 25, 2015 14 Comments

Chandelier Planter

A college friend of mine, Megan, showed me this chandelier planter that she created and I absolutely loved it.  She gave me permission to share her work of art with you and was kind enough to write out how she did it.  I’ll turn it over to her now.

I used an old brass chandelier that was laying around our basement.  I had my husband remove the electrical wiring and elements.  Then I glued a terra cotta saucer and pot to each other, and on each of the chandelier’s arms. I used Elmer’s Pro-Bond Advanced Glue. It’s supposed to work on any material, and it worked for my terra-cotta to metal combo!  I hung the chandelier when dry and painted with a paint/primer combo (Valspar Tropical Oasis). I finished mine with a clear enamel spray paint because I had some left over from another project, but I think a specific sealant spray would have been better. Super easy! I only had to pay for the pots, which are pretty cheap at Lowe’s, and a can of spray paint!

There you have it folks!  An easy, cost-effective way to add a little DIY charm to your home.

If you have a creative party, recipe, or DIY and would like to be featured on Embracing Creativity we would love to see it!  You can submit your creativeness here.
Filed Under: Crafts & DIY, Decorate Tagged With: budget decor, Crafts, DIY, home decor

Homemade T-shirt Tote

June 25, 2015 Leave a Comment

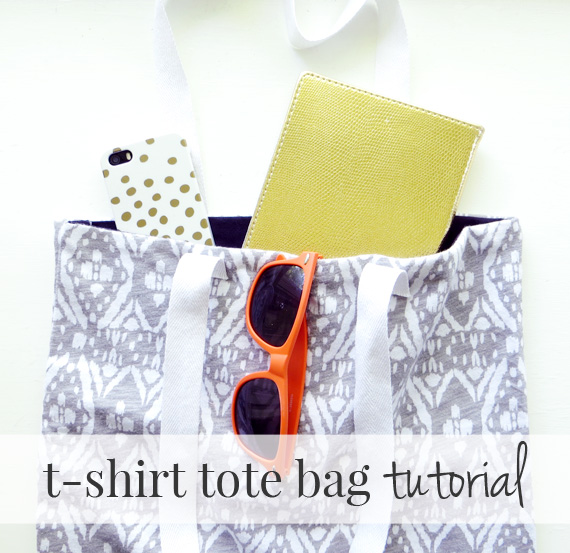
t-shirt-tote

CreativeGreenLiving.com shows you how to make a homemade tote bag out of a old t-shirt.  Isn’t it adorable!?!  I’d love to make one (or ten) of these!

Filed Under: Crafts & DIY, Gifts Tagged With: Crafts, DIY, Gifts, T-Shirts

Patriotic Clothespin Wreath

June 23, 2015 12 Comments

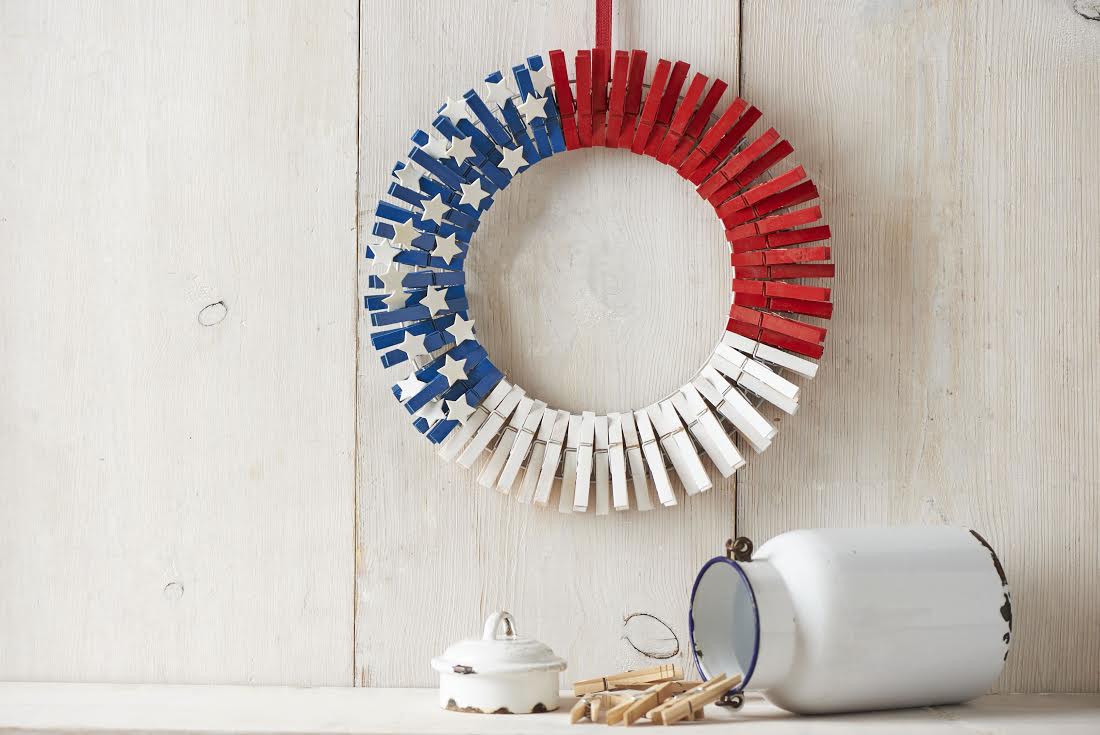
Clothes pin patriotic wreath

This Independence Day, Jill Bauer, QVC’s Home-Savvy Hostess, has the perfect patriotic décor tips to help celebrate America in style and she’s allowed me to share her easy peasy tutorial with you all.  I don’t know about you but I can’t wait to make this craft!  I think it will be one that my little girl will like to help me out with!

To make this Red, White and Blue Patriotic Clothespin Wreath, you’ll need:

  • – 12” wire wreath
  • – Red, white, and blue spray paint
  • – Clothespins
  • – Cardstock
  • – Starpunch (I might use foam stars with my daughter)
  • – Hot glue gun

To assemble:

  1. Spray paint the wire wreath white to hide the metal frame.
  2. On old newspapers or a drop cloth, line up all of the clothespins. Spray paint them red, white, and blue. (I did an equal amount in each color.) Let them dry for 1 hour.
  3. Meanwhile, punch several stars out of the card stock. If you didn’t use white card stock, just spray paint the stars white and let them dry.
  4. Clip the clothespins onto the wire wreath, alternating them between the second and third rings. (I started with the red clothes pins, then did the white, and finished with the blue.)
  5. Hot glue the stars over the blue clothespins.

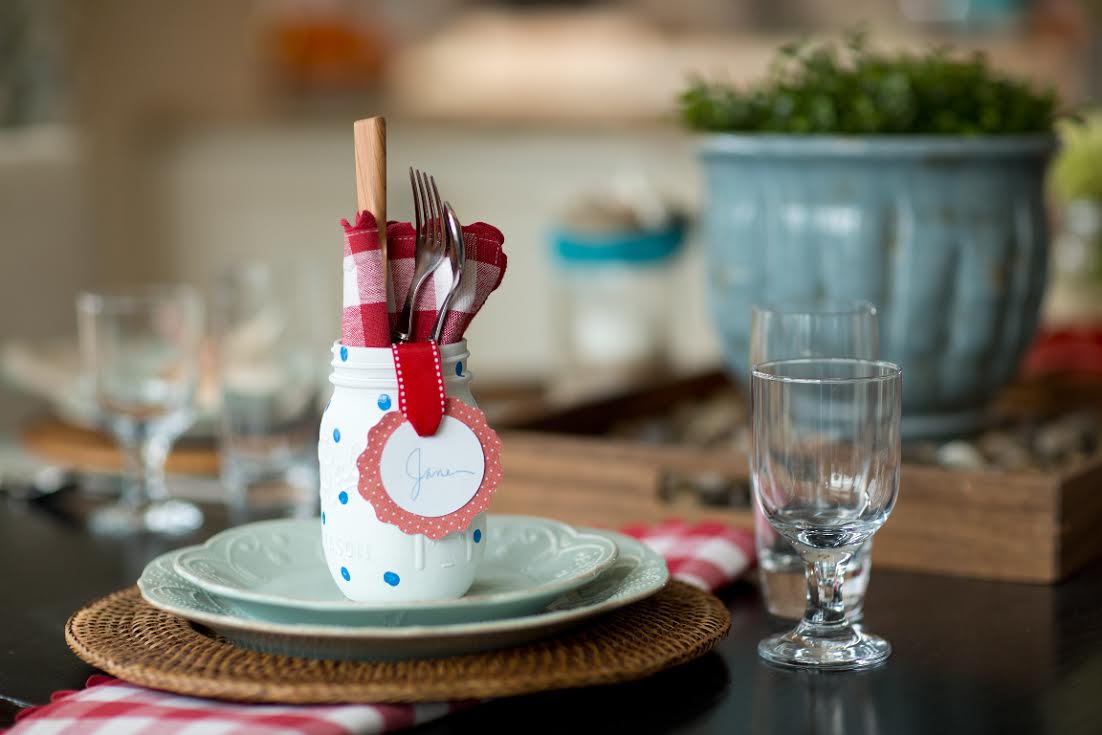
Patriotic Mason Jar

To see more crafty goodness visit Jill on QVC.

Here’s another easy patriotic wreath:

Patriotic WreathPatriotic Wreath

Filed Under: Crafts & DIY, Decorate, Holidays Tagged With: 4th of July, Patriotic, Wreaths

Preschool Letter Craft – F is for Flower

April 21, 2015 Leave a Comment

Because I’m a preschool homeschooling mom I’ve been told by countless mamas that I need to do letter crafts with my daughter.  I say that she knows her letters, their sounds, and can even sound out small words on her own.  They tell me that I still need to do this so that is what I’m doing.  Reinforcing the alphabet!

I probably should have started with the letter A but we had pretty silk flowers just sitting around waiting to be used so I jumped ahead to F.  The order of the alphabet isn’t too important at this age anyway, is it?

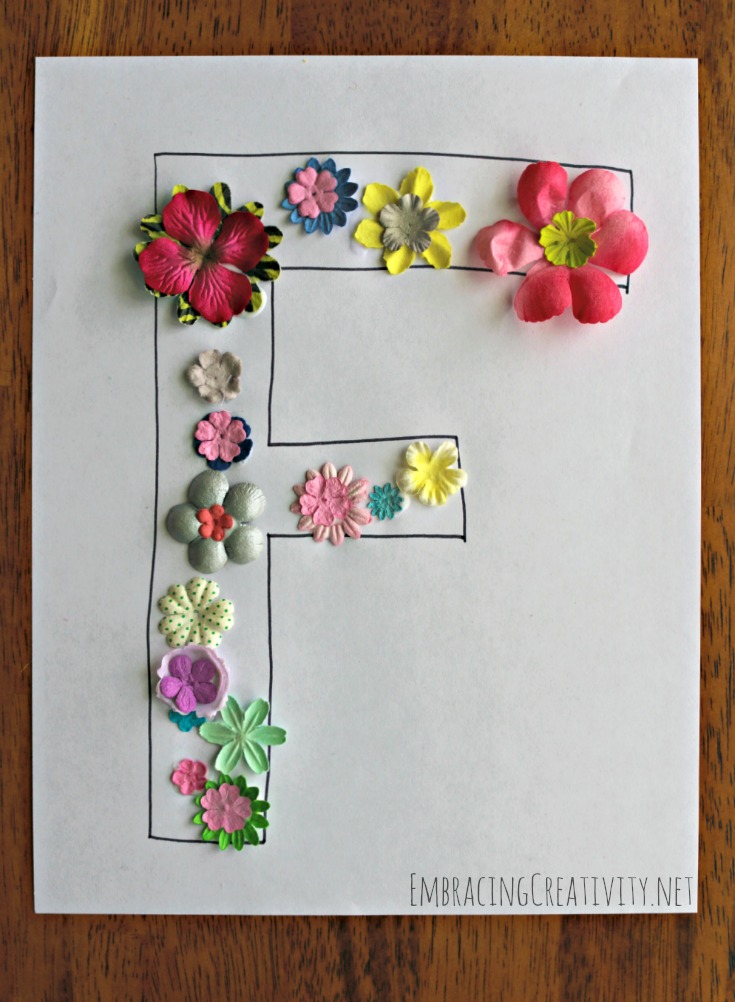
For our letter craft we added flowers to the letter F!  It’s self-explanatory really but here’s what we did.

Grabbed our tube of flowers.  We got them from Amazon here ages ago and they have lasted and lasted.  A good craft investment!  Gathered, paper, glue, and a marker for Mommy to write the letter F.

1.  Freehand the letter F.  If you’re OCD, like I have a tendency to be sometimes, I’m sure you could make a letter of humongous proportions in Word or Google for an F template.

2.  Let your kiddo pick out their favorite flowers.  Layer them, arrange them.

3.  Let them loose with the glue and voila!  Oh, and you might want to mention somewhere in there that flowers start with the letter F.

Happy crafting, ya’ll!

F is for Flower

Filed Under: Crafts & DIY Tagged With: Crafts, Kid's Crafts, Kids, Preschool

Shamrock Bead Craft for Kids

March 6, 2015 4 Comments

This post contains affiliate links for your convenience. 

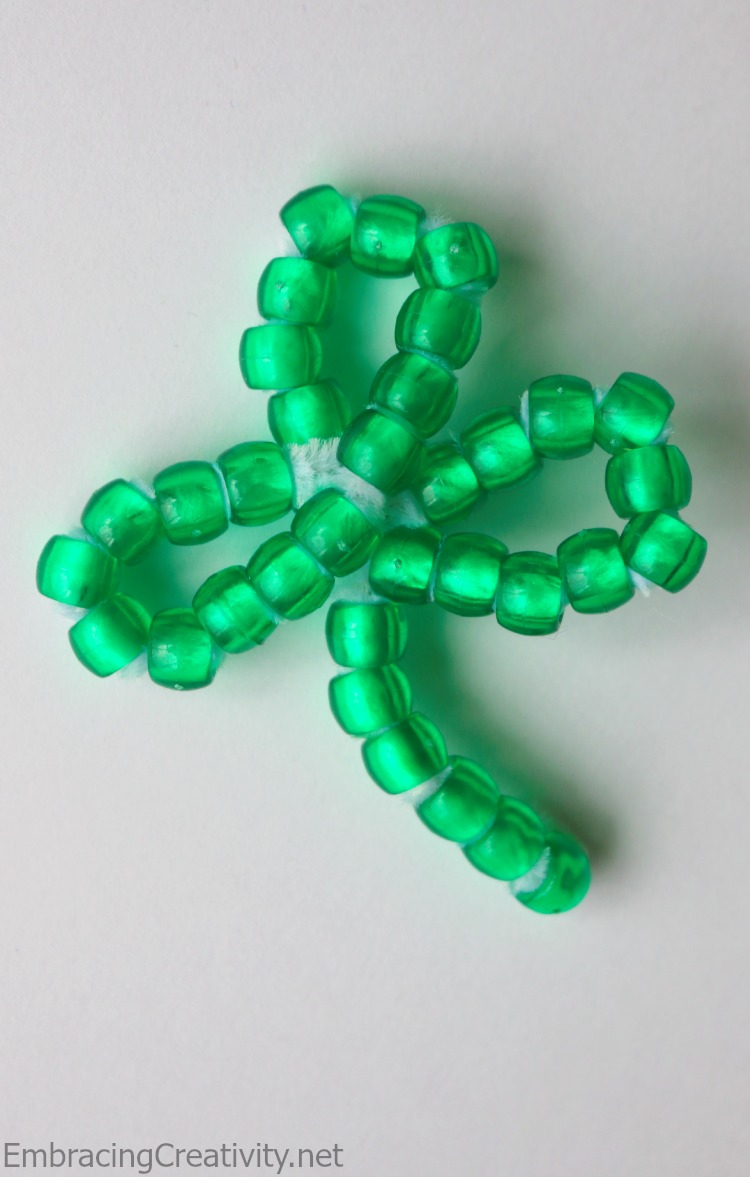
Shamrock Bead Craft for Kids

My daughter loves pony beads, I mean loves them!  Whether it’s stringing them on pipe cleaners or gluing them on paper.  She can’t get enough.  Maybe it’s because it’s one craft that she doesn’t need much help from me on.  I don’t mind because it’s a great exercise for her fine motor skills.

Yesterday, she asked to do a craft with beads.  After I scratched my brain for a moment I came up with this idea!  She loaded the pipe cleaner with beads and then I bent it into the shape of a shamrock.  We were originally going to hang it up as a sun catcher (with these suction cups) but she’s had too much fun carrying it around for that.

If you have a pony bead craft to share I’d love to hear about it!

Check out our other St. Patrick’s Day crafts:

  • – St. Patrick’s Day Pot of Gold Craft/Treat
  • – Shamrock Dot Paint Craft
  • – 3D Rainbow Craft

Filed Under: Crafts & DIY, Holidays Tagged With: Beads, Crafts, Kid's Crafts, Kids, St. Patrick's Day

Shamrock Craft for Kids

March 6, 2015 Leave a Comment

This post contains affiliate links.

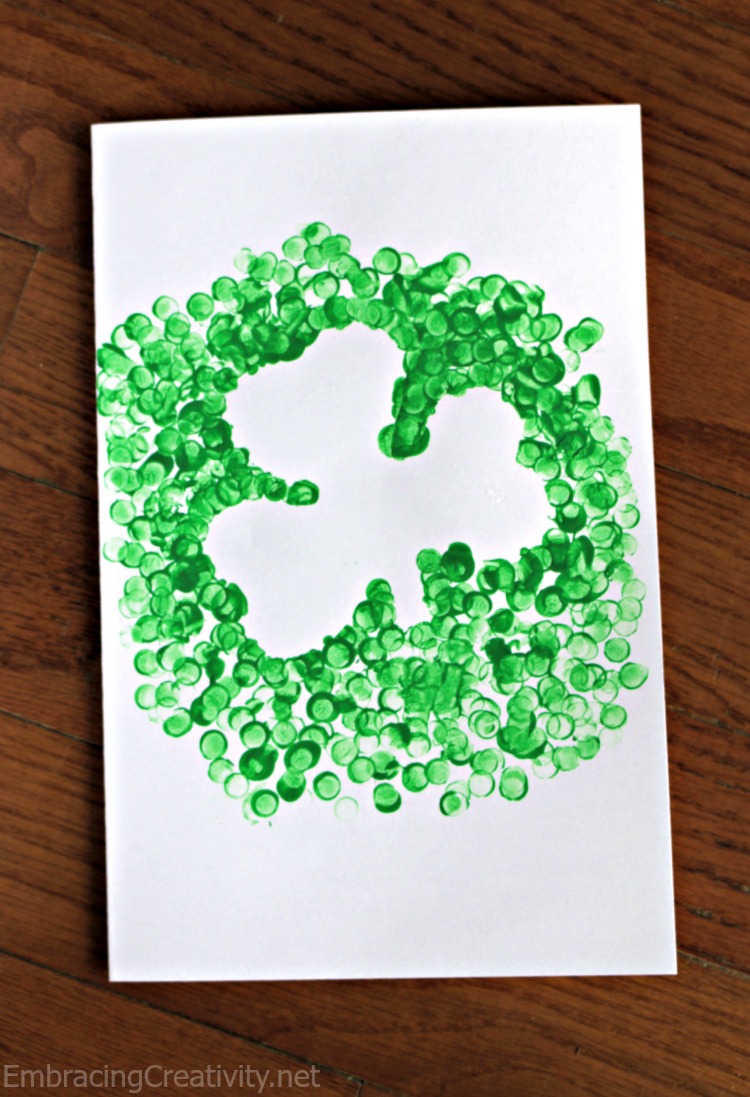
Shamrock Craft for Kids

This shamrock craft took only moments to make and my daughter had so much fun making it.  She “painted” on the front of a card that we’ll be mailing to her grandparents for St. Patrick’s Day.

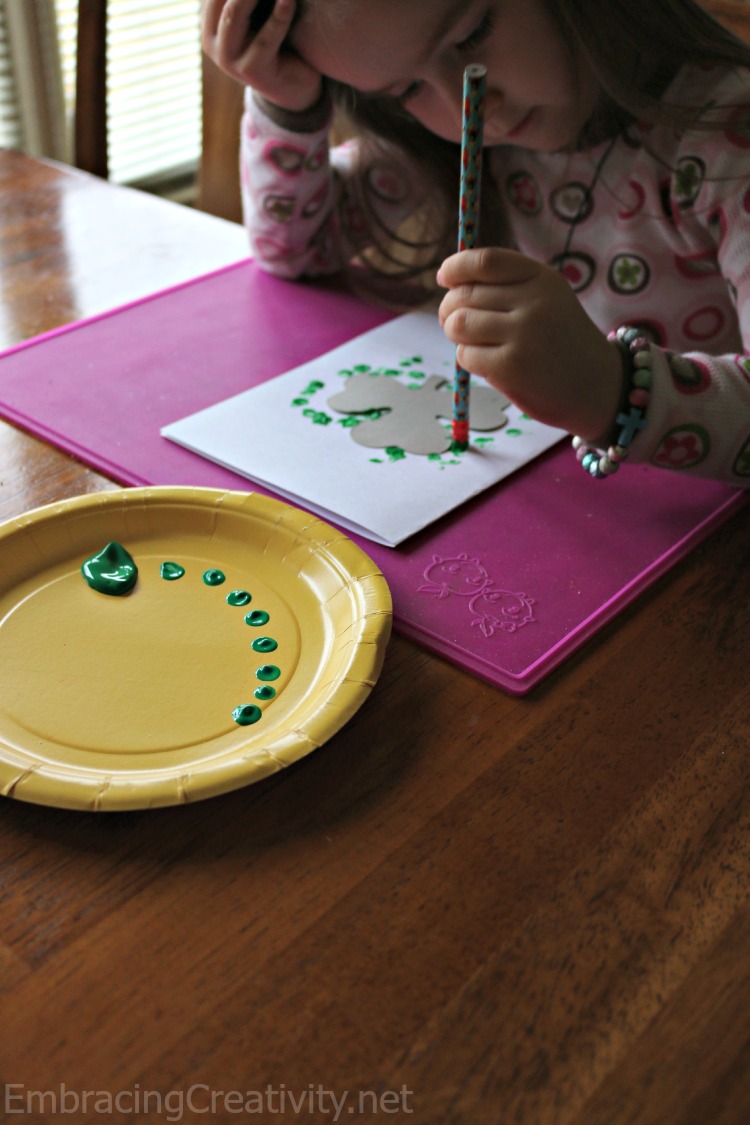
Clover Crafts for Kids

We used a shamrock cut out that we got from the dollar store.  You could always find a clover online, print it, and then cut it out too!  We taped it to our card (folded cardstock).  I found an unused pencil and let her loose stamping away.  Notice how she even made a design on the paper plate as she dotted the excess paint.  What an arteest! : )

We used our favorite Crayola washable paint so it was okay if we accidentally got a little paint on her clothes.

Check out our other St. Patrick’s Day crafts:

  • – Shamrock Bead Craft for Kids
  • – St. Patrick’s Day Pot of Gold Craft/Treat
  • – 3D Rainbow Craft

Filed Under: Crafts & DIY, Holidays Tagged With: Cards, Kid's Crafts, Kids, Paint, St. Patrick's Day

St. Patrick’s Day Rainbow Craft

March 6, 2015 Leave a Comment

This post contains affiliate links.

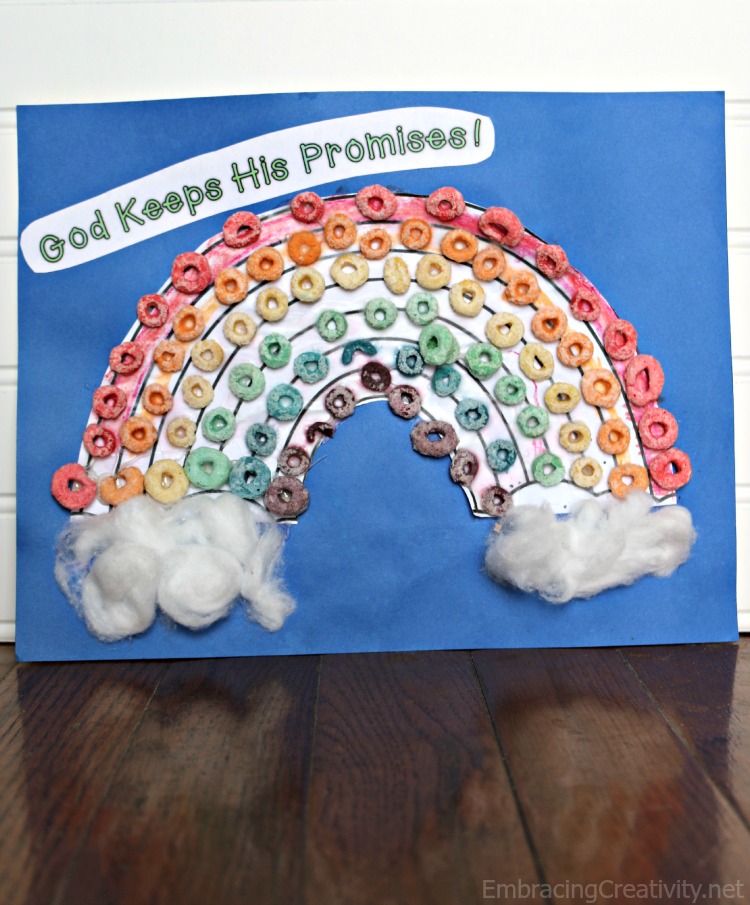
St. Patrick's Day Rainbow Craft


This lovely piece of art has been hanging on my refrigerator for almost a year now.  I just love it!  I can’t take credit for it though.  My daughter made this craft with the help of her Sunday School teacher.  The idea is simple enough though that I wanted to share it with you in case you have a little one that might enjoy a rainbow craft.  Paper, glue, crayons, Fruit Loops, and cotton balls are all you need for rainbow magic.

Check out our other St. Patrick’s Day crafts:

  • – Shamrock Bead Craft for Kids
  • – St. Patrick’s Day Pot of Gold Craft/Treat
  • – Shamrock Dot Craft

Filed Under: Crafts & DIY, Holidays Tagged With: Crafts, Kid's Crafts, Kids, St. Patrick's Day

St. Patrick’s Day Treats For Kids

March 6, 2015 2 Comments

This post contains affiliate links for your convenience. 

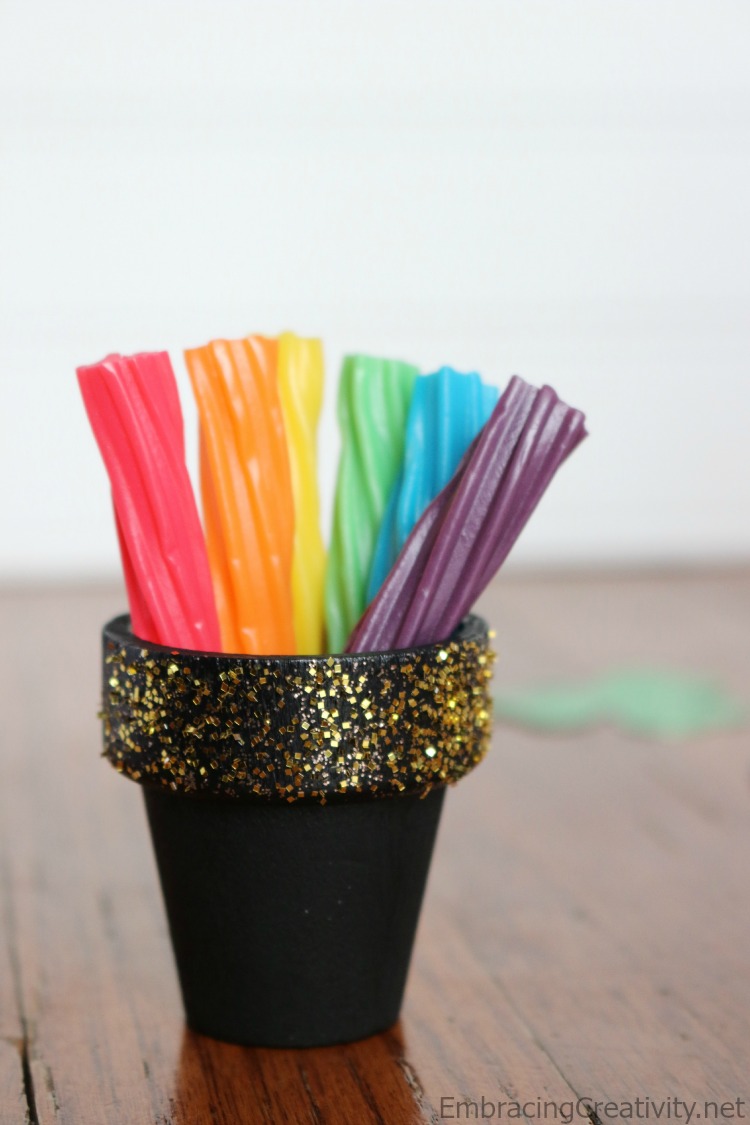
St.Patrick's Day Treats for Kids

Irish or not — here’s a sweet treat you can give your kids this St. Patrick’s Day.

Grab a mini wooden flower pot at any craft store for about a quarter a piece.  Add a little black paint and gold glitter.  Once it dries all you have to do is add your multicolored mini Twizzlers (or cut regular size Rainbow Twizzlers and add them) and you’re finished.  Rainbow and pot of gold in one.

Easy, tasty, and oh so cute!

Check out our other St. Patrick’s Day crafts:

  • – Shamrock Bead Craft for Kids
  • – Shamrock Dot Paint Craft
  • – 3D Rainbow Craft

Filed Under: Food, Holidays, Parties Tagged With: Food, Holidays, Kids, St. Patrick's Day

Frozen Olaf Pumpkin

November 5, 2014 Leave a Comment

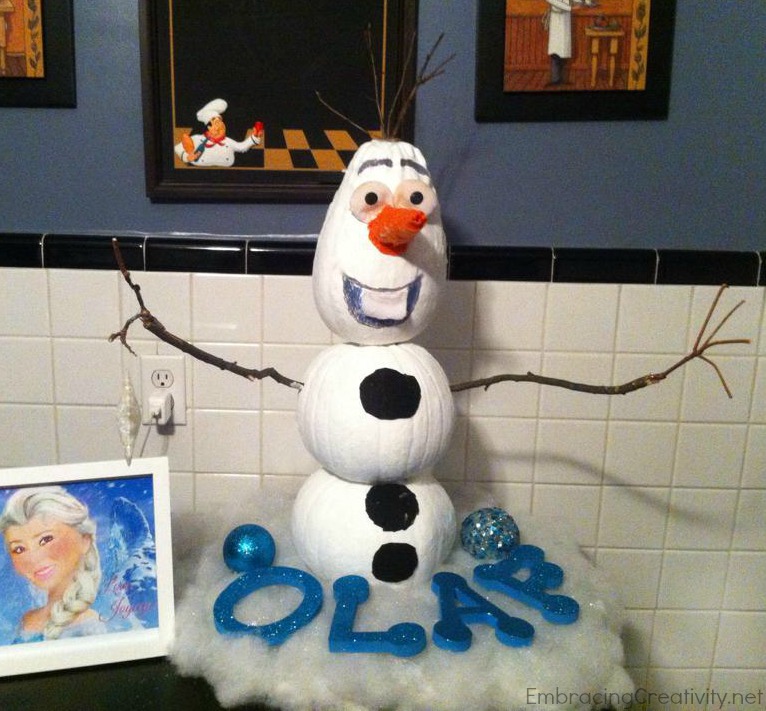
Frozen Olaf Pumpkin

By now, you’ve already been bombarded with 5 dozen sweet Elsa’s knocking on your door to say trick-or-treat, you’ve already handed out all of your candy, and you may have even put away all of your Halloween decor.  I know, I know, it’s a little late to be posting about a pumpkin but this Olaf inspired pumpkin was too cute not to show you.  Isn’t it darling?  A friend of mine made this Olaf pumpkin with her sweet daughter and gave me permission to share it.  I just love it!

Filed Under: Crafts & DIY, Decorate, Holidays Tagged With: Crafts, Decorate, DIY, Halloween, Holidays, Pumpkins

Pumpkin Cake

October 27, 2014 33 Comments

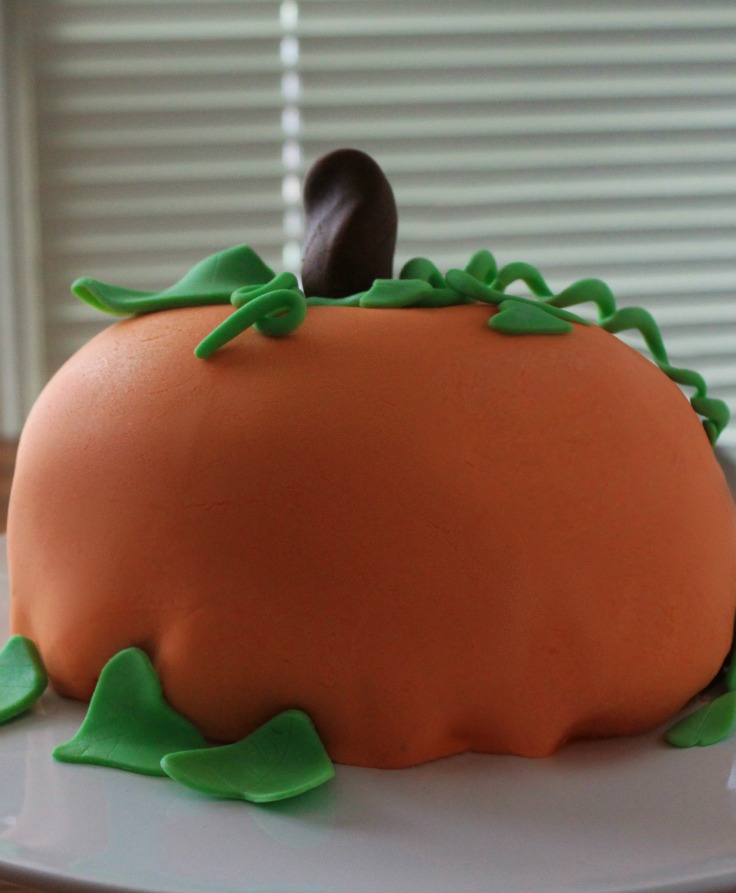
Pumpkin Cake

This is a story about a pumpkin cake.  A cake that was born in the mind of a busy mama months ago.  This week she finally sat down and made the cake.  All went as planned until she decided to leave it overnight instead of taking pictures right away.  Later she would find out that that was a bad idea because the cake would fall overnight.

She, well, I tried to salvage the best pictures I could the next day but it wasn’t quite as cute as the day of.  Above is a crummy picture I took from my iPad that evening when I finished the cake.  I sent it to a few blogging friends to get their feedback on it before I left it alone for the night.  I had no idea it would be the best picture I would get of it.  *sigh*  The next morning I wanted to cry.

You see, the cake I made wasn’t any old cake, it was a cake with a mound of whipped cream icing on top of it.  The directions say to serve right away or up to eight hours later.  I knew better than to leave it for 12 hours.  I knew better!  I guess baking and decorating a cake with a three year old didn’t leave me in the best state of mind for logical thinking.

Despite the sad outcome of the cake I put enough effort into it that I wanted to show it to you anyway.  Plus, it’s a great reminder that bloggers aren’t perfect!  Sometimes it’s okay to reveal that, right? 🙂

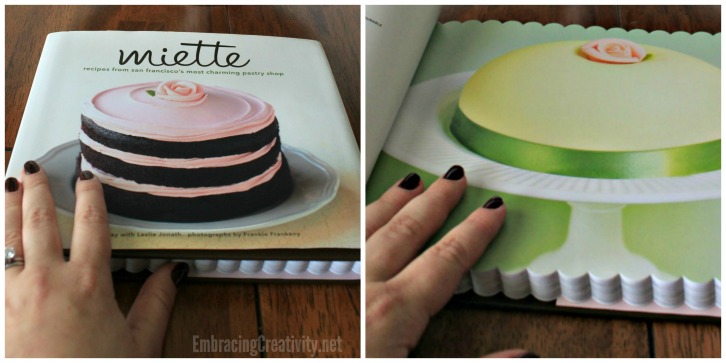
Miette Cookbook

My idea for the cake cake from the Miette cookbook, which I have to stop and say is absolutely adorable and full of useful tips for creating gorgeous cakes!

Fall Pumpkin Cake

Here’s a picture of it after it slumped a bit.  It’s the best picture I could get considering the circumstances.

Here’s the whole process of the cake in case you’d like to make one yourself.  Don’t forget to serve right away or within 8 hours! 🙂

Pumpkin Cake Tutorial

You can see here how the icing slumped along the sides.  All in all, it was still a really delicious cake that made my daughter and I made together.  I guess that’s not too bad.

Are there any baking projects that you would like to complete this fall?

Filed Under: Food, Holidays, Parties Tagged With: Cakes, Fall, Pumpkins

« Previous Page
Next Page »

Welcome!

This is a brand new site that has branched off from EmbracingBeauty.com. We're still getting things settled around here so please pardon the dust. Feel free to browse through the other new sites via the images at the top of this page. Thanks for stopping by. We're glad to have you here!

Popular Posts

Ombre Rose Cake   Baby Shower Cake   Dollar Bill Flower Bouquet  

Recent Comments

  • Rena on DIY Paint Decorated Starbucks Bottles
  • dating on 5 Minute Tortelloni Dinner
  • Ashley on DIY Paint Decorated Starbucks Bottles
  • Ashley on How to Create a Transparent Watermark in PicMonkey
  • Ashley on How to Create a Transparent Watermark in PicMonkey
100 Days Shirt

100 Days of School Shirt Idea

ReUse, ReDesign, ReStore

© 2013–2025 Embracing Creativity. All rights reserved. Design by Marisa @ Soli Creative.